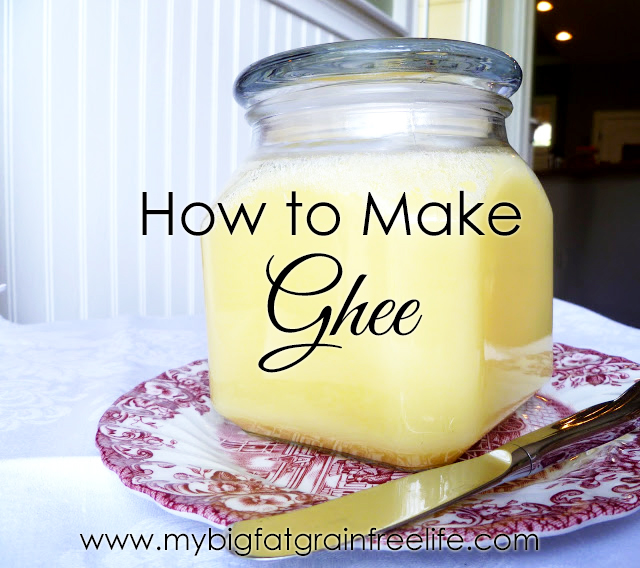
How to Make Ghee (Paleo, GAPS, SCD)
This post may contain affiliate links. If you make purchase after clicking a link, I may receive a commission at no extra cost to you.
Last Updated on March 30, 2023
I love butter and if you knew how much butter we used to go through in any given week, you’d think I was related to Paula Deen. When our pediatrician, Dr. Julie Buckley, said that casein (a milk protein) was one of the most irritating proteins to the gut lining and we needed to eliminate it from our diets – I thought, “OK – We can do that”.
When I realized that butter contained casein, I thought, “NOOOOOOOOOOOOOOOOOOOOOOOOOO!” and, in horror, asked out loud, “What about BUTTER?”
Dr. Buckley suggested we use ghee in place of butter. I have to admit, the thought of making such (another) huge change to our diets saddened me – even scared me a little.
But ghee is nothing to be scared of. It’s actually clarified butter and is made by heating butter in a pot so that the moisture evaporates, milk solids settle on the bottom and a white froth rises to the top. Ghee is used primarily in Indian cuisine, and is praised, among other things, for being easy to digest.
NOW – I’ve come to love ghee. It has a high smoking point which makes it easy to use when sautéing. I use it to make eggs, pancakes, sauce veggies, and in the topping for my grain-free peach crisp (post to come).
Ghee can be expensive to buy, but is easy-peasy to make at home. If you give it a try, post in the comments section and let me know what you think of it.
How to Make Ghee (Paleo)

Ingredients
- 1 lb. unsalted organic butter
- 1 lb. salted organic butter (traditional recipes use unsalted, but I prefer a mixture)
- 1 large pot
- fine sieve
- cheesecloth
- glass or stainless steel container with pour spout
- small container with lid to store ghee
- cooking thermometer
Instructions
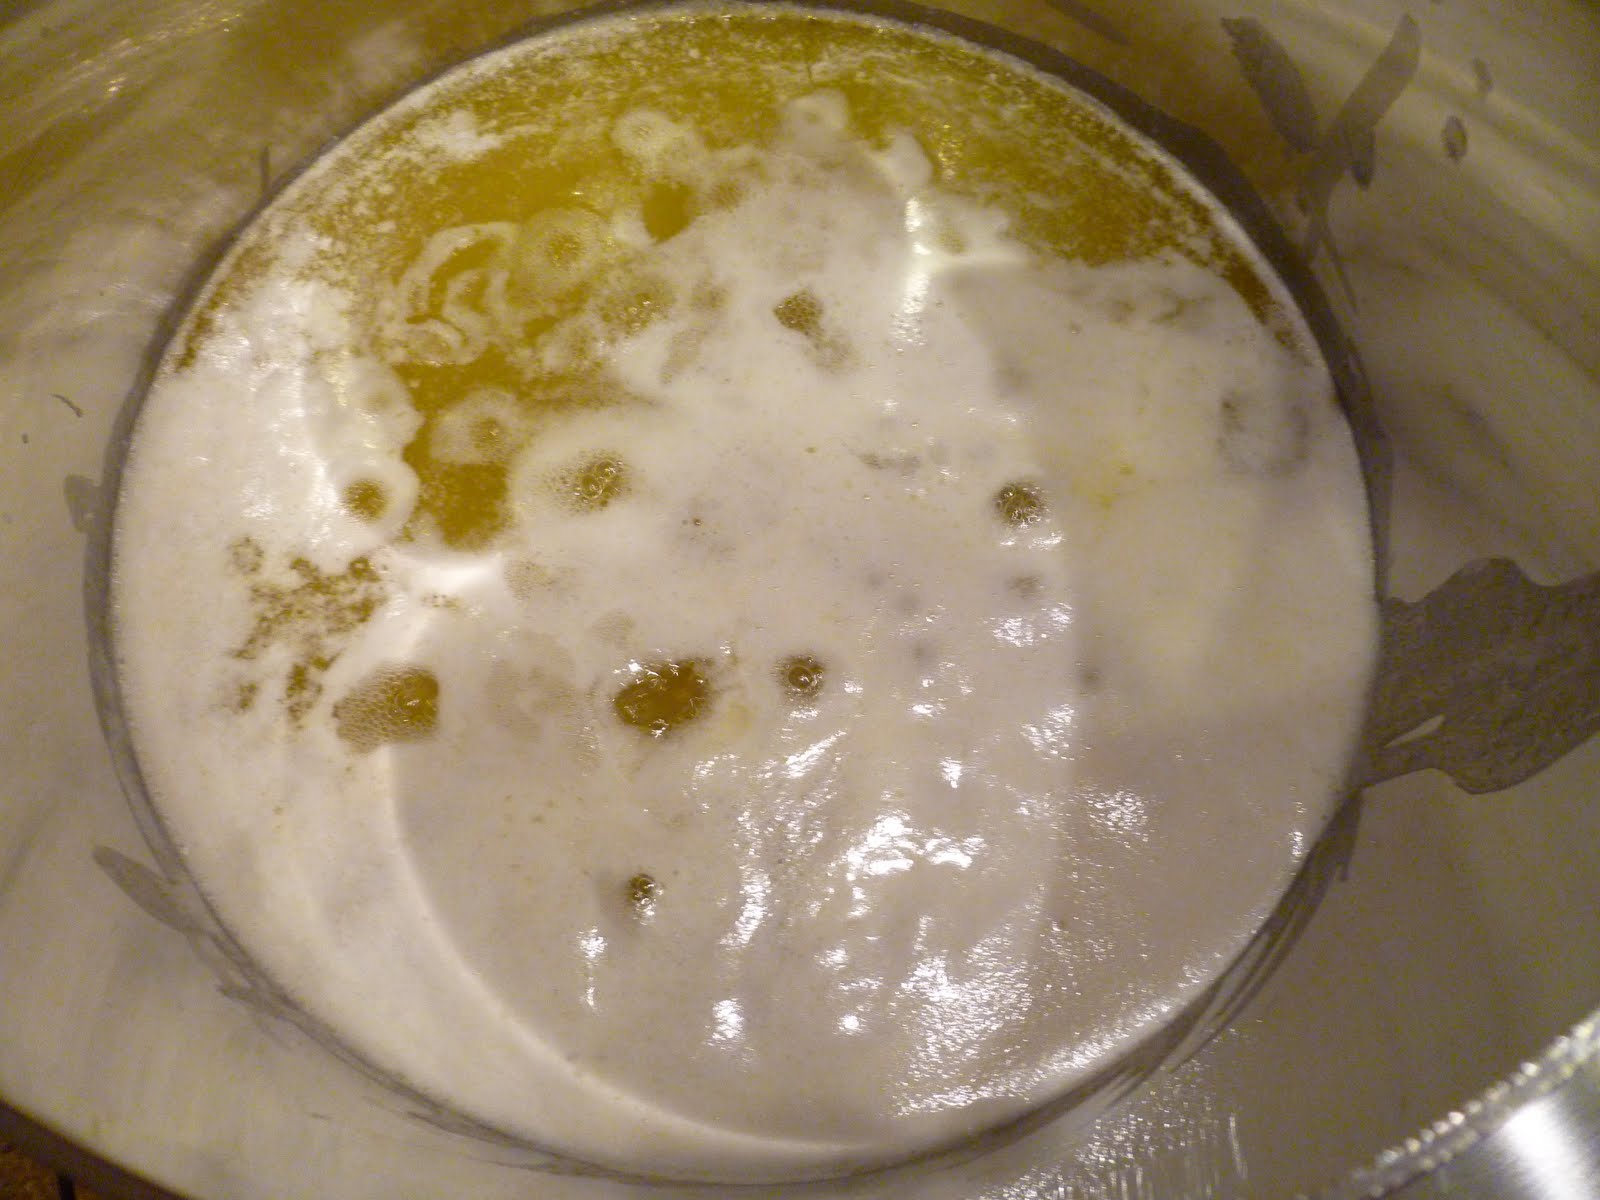
- Put butter into large pot and place on the burner, turning heat to medium-low. The butter will melt and a white froth will rise to the top. Skim it off.
- The butter will go through a stage of large bubbles and popping (keep kids out of the kitchen when making ghee) and then, the bubbles will get really small. This is a sign that you are almost done.
- Once the butter comes to 225F, take the pot off the heat. Allow ghee to rest 20 minutes.
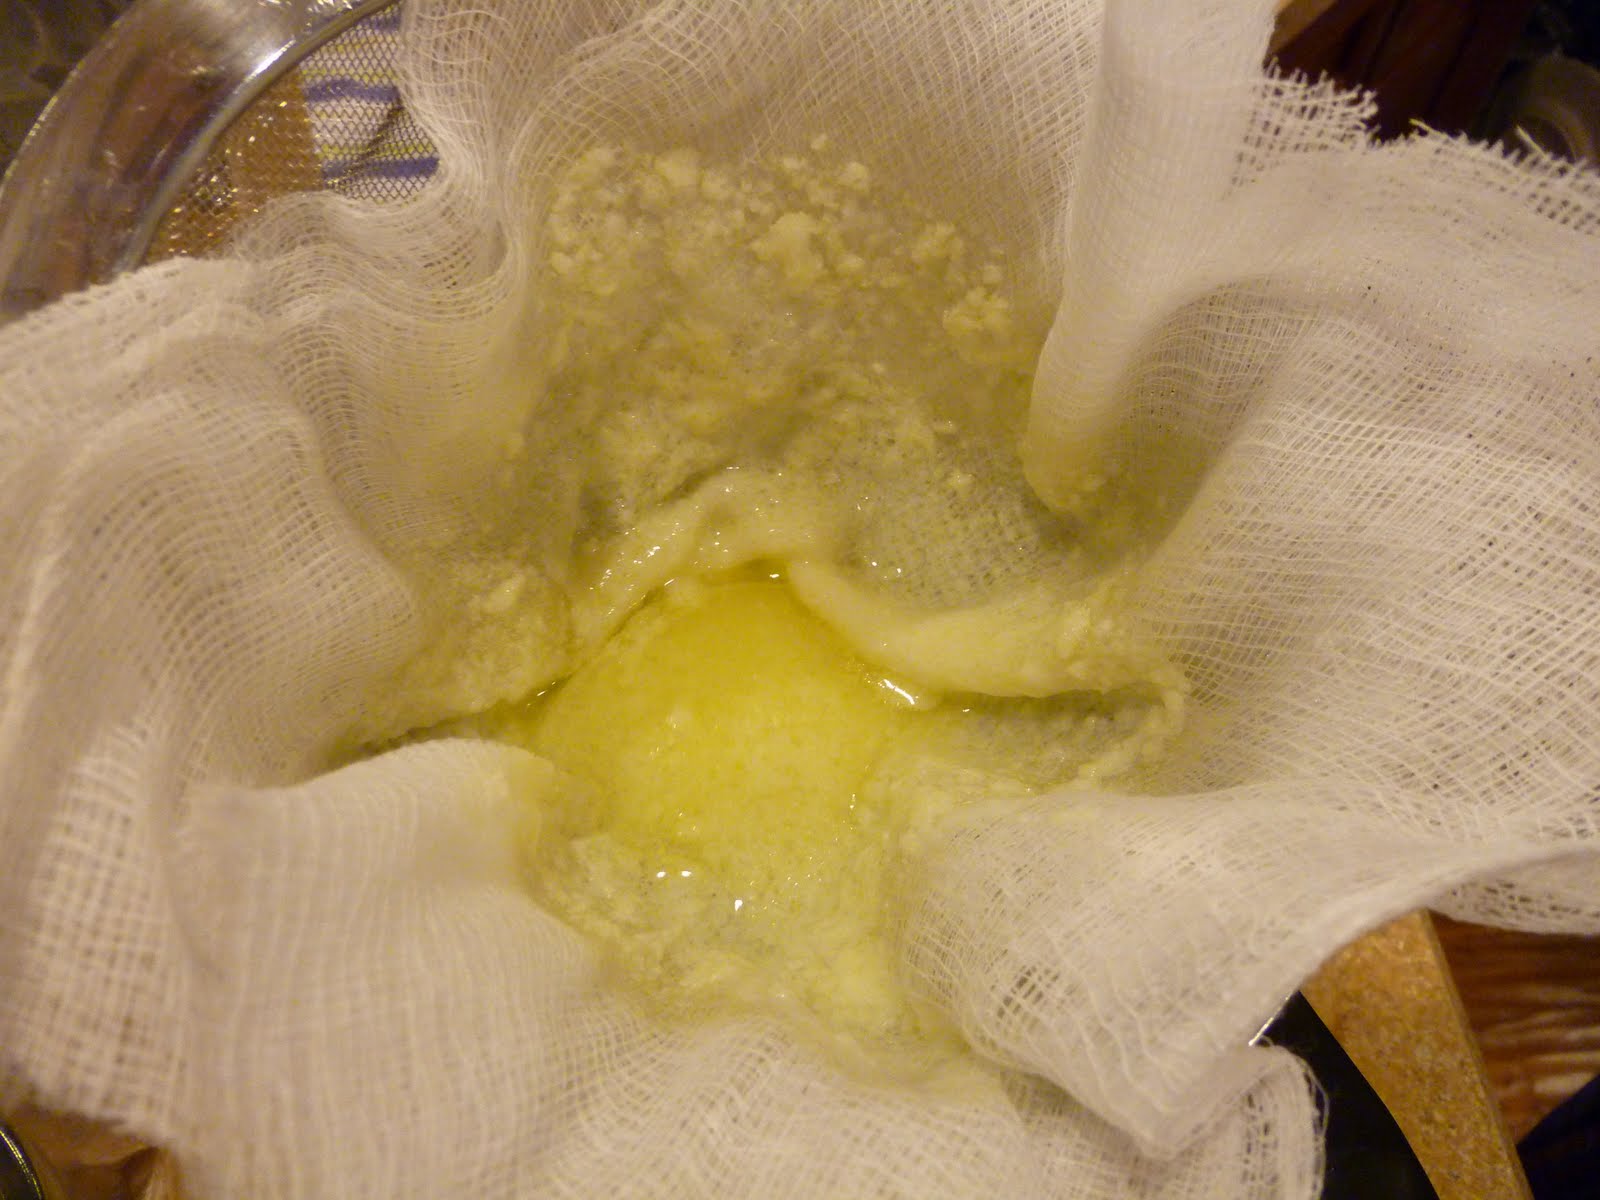
- Meanwhile, place the sieve into the container with a pour spout. Line the sieve with a double thickness of cheesecloth.
- Once 20 minutes is up, carefully pour the ghee through the sieve, allowing any remaining froth to be caught in the cheesecloth, but leaving solids that settled in the bottom of the pot. Discard solids.
- Allow ghee to cool further, then pour into clean, dry, glass container with lid.
- Do not place lid on container until ghee is fully cooled.
- Ghee will keep for a long time in a closed container at room temperature as long as utensils used to remove the ghee are always clean and no drops of water get into the container, as that will introduce bacteria.