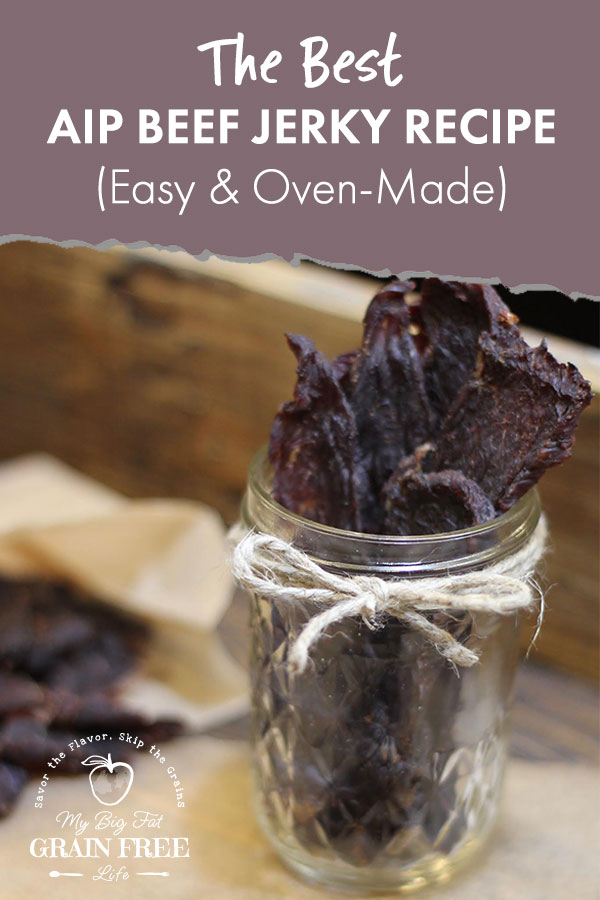
The Best AIP Beef Jerky Recipe (Easy & Oven-Made)
This post may contain affiliate links. If you make purchase after clicking a link, I may receive a commission at no extra cost to you.
Last Updated on October 10, 2023
When you are on the AIP diet it’s essential to have good and healthy snack options on hand. This easy AIP beef jerky recipe satisfies that salty-snack craving. My jerky recipe is compliant for the autoimmune protocol diet as well as SCD, GAPS, and followers of the paleo diet.
AIP Beef Jerky
I’ve always loved the taste of beef jerky! I like that it’s salty, smoky, and chewy. My beef jerky is a great AIP snack that’s low carb, gluten free, refined sugar free, and created to be compliant for the paleo autoimmune protocol.
Beef Jerky: A High-Protein, Low-Carb Snack
I struggle with hypoglycemia, (blood sugar drops) and if you’re familiar with that, you know how important it is to keep blood sugars stable – which means it’s imperative to eat regularly (skipping meals is dangerous).
Since going on the AIP (autoimmune protocol), it’s not like I can have a bag of nuts or pumpkin seeds tucked away in my purse. These jerky sticks make a delicious healthy snack that’s high in protein and low in carbs.
Why You’ll Love This AIP Beef Jerky Recipe
Some jerky snacks use dehydrator trays to dry out the beef, but that can take forever, and not everyone has a dehydrator machine. My AIP beef jerky recipe is made using a cookie sheet and baked in the oven at a low oven temperature for 3-5 hours – making it super easy to make!
My grass fed beef jerky meat snack sticks taste amazing! The overnight marinade really allows the flavors to settle in and develop.
What Kind of Meat to Use for Beef Jerky
My AIP beef jerky recipe uses London broil. If you can find it grass-fed, of course, that is best. If you cannot find grass-fed beef, go ahead and use conventional London broil.
Using London broil to make beef jerky is an excellent idea for a multitude of reasons. The primary advantage lies in the quality and nature of the meat itself.
Firstly, London broil refers to a style of cooking, not a specific cut of meat. However, it is often associated with top round steak or flank steak, which are lean cuts. This makes them an ideal choice for beef jerky, as the low-fat content ensures the jerky will not go rancid during the drying process.
Secondly, these cuts are typically quite large and uniform in shape. This allows for long, consistent strips of jerky that not only look appealing but also dry at the same rate, ensuring the highest possible quality for the finished product.
London broil is also cost-effective and is often less expensive than other cuts of beef. Lastly, the strong, robust flavor of London broil is another reason to consider using it for your beef jerky.
The meat’s natural flavors are enhanced in the jerky-making process, resulting in a final product that is rich, savory, and delicious.
Preparing Steak for Beef Jerky
I recommend freezing the London broil for about 30 minutes prior to cutting it as it makes it easier to slice. After removing the beef from the freezer, slice meat using a very sharp knife 1/8″ thick across the grain.
Next, you will prepare the marinade following the instructions below.
AIP Beef Jerky Marinade
I use simple ingredients for my marinade, however they impart a bold flavor when making the beef jerky.
Here’s what you need to make the marinade for your AIP beef jerky. Keep in mind you can get the measurements and complete instructions from the recipe card at the bottom of the post.

- unsweetened black cherry juice (or apple juice)
- crushed pineapple
- coconut aminos (omit for GAPS and SCD and add 1 teaspoon sea salt) *coconut aminos is used as a substitute for soy sauce
- freshly chopped ginger (or you can use ground ginger) *Learn how to tell if ginger is bad, to make sure your fresh ginger is healthy.
- garlic cloves (smashed and coarsely chopped)
- onion powder
Other add-in options include black pepper (phase one re-intro on the autoimmune protocol diet) and turmeric. If you are not concerned about being AIP diet compliant, you could add in some spice, like crushed red pepper too.
Steps to Marinate AIP Beef Jerky
In a medium bowl, whisk all remaining ingredients together (basically everything besides the meat) and pour over beef, tossing with your clean hands to coat. Cover with plastic wrap and marinate overnight.
Dehydrating Beef Jerky
- Start by lining one or two (depending on the size of the London broil) rimmed baking sheets with aluminum foil. Place a stainless steel wire rack inside of the pan(s).
- Next, rub the racks with a little coconut or olive oil.
- After that, lay the beef slices on the rack(s) leaving just a little room in between slices for air to circulate.
- Place in preheated oven and then prop the door open to allow moisture to escape (I use a large wooden or silicone spoon).
- Dry AIP beef jerky in the oven for 3-5 hours (I lean toward about 4). Time will depend on how thick your slices are (so if you have thick pieces, it may take longer). Check them at three hours and determine if it needs more time.
- Allow the paleo beef jerky to cool completely. It should be easily pried off the racks.
Other Cuts of Meat That Can Be Used to Make Jerky
1. Top Round: Top round cuts of beef are ideal for making jerky in the oven. With a relatively low level of fat, this cut ensures that your jerky will not turn rancid quickly, allowing for a longer shelf-life. Its lean nature also makes it easier to dehydrate in the oven. Furthermore, top round beef is quite economical, making it a popular choice for homemade jerky.
2. Eye of Round: Another excellent choice for beef jerky is the eye of round. It shares many of the same benefits as top round, being lean and cost-effective. The eye of round cut is especially known for its consistent, uniform shape that results in even strips of jerky, which makes the dehydration process more efficient and predictable.
3. Flank Steak: Although slightly more expensive than the round cuts, flank steak is also a good option for beef jerky. The grain of the meat is also more pronounced, which can create an interesting texture in the finished product. As it’s a bit more fatty than the first two cuts, it requires careful trimming before it goes into the oven.
Storing AIP Beef Jerky
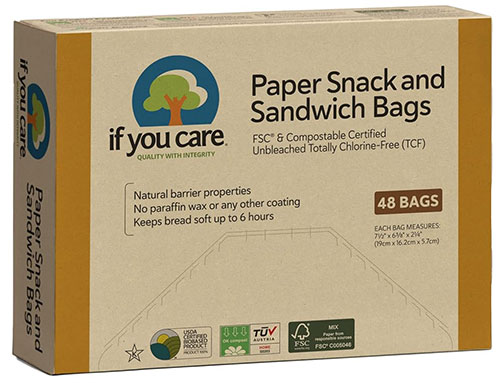
I like to make this delicious beef jerky, cut it into bite-size pieces and store it in unbleached parchment paper sandwich bags.
I store the jerky-filled bags packed tightly in a large zip-top plastic bag or a sealed container in the freezer. When I know I’m going to be out and about running errands, I take a bag or two out and stick them in my purse to have on hand. I also like to bring coconut chips for healthy fat and to satisfy my need for something crunchy.
Other Way to Store AIP Beef Jerky
1. Cool Down: After preparing and dehydrating your homemade beef jerky, allow it to properly cool down to room temperature before storing. This prevents condensation which can lead to premature spoilage.
2. Vacuum Sealing: For the best results, vacuum seal your beef jerky in food-grade, BPA-free vacuum seal bags. This process removes all the air, thereby preventing oxidation and increasing the jerky’s shelf life.
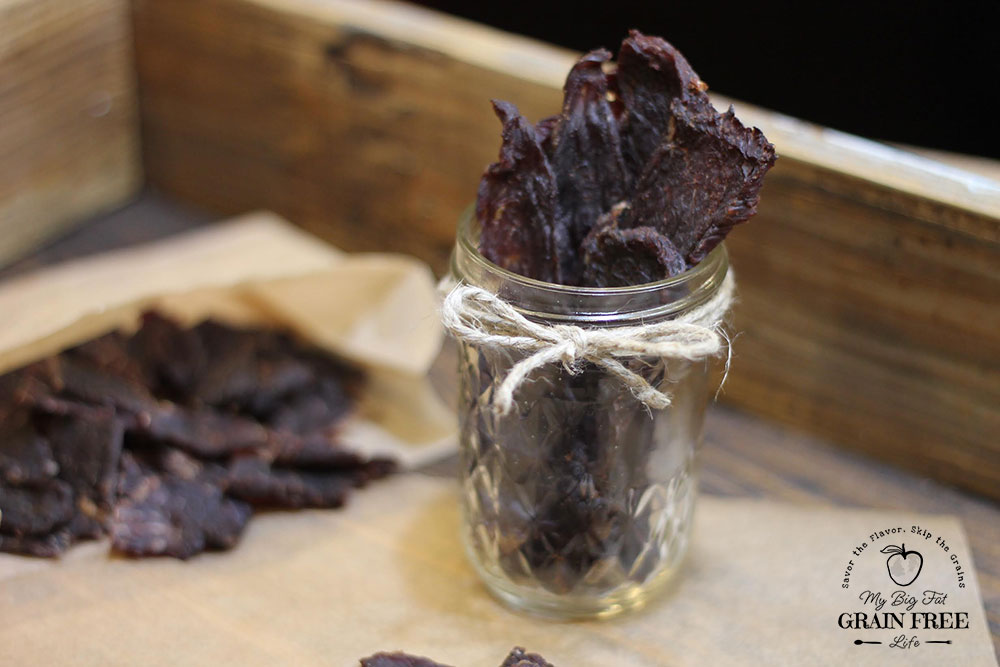
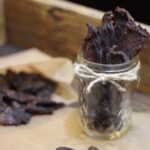
3. Use Airtight Containers: If vacuum sealing is not an option, store the beef jerky in airtight containers. Glass jars with rubber seals, such as mason jars, are an excellent choice.
4. Store in a Cool, Dark Place: Once sealed, store your homemade beef jerky in a cool, dark place. Pantries, cupboards, or basements are ideal. Extreme temperatures and light can degrade the quality of the jerky over time. Jerky can be stored 1 to 2 months at room temperature if dehydrated properly.
5. Refrigerate or Freeze for Long Term: For long term storage, consider refrigeration or freezing. However, ensure the beef jerky is properly sealed before doing this to prevent freezer burn or moisture accumulation.
6. Check Regularly: Regardless of your storage method, regularly check your jerky for any signs of spoilage, such as off smells or mold growth. Proper storage should extend the life of your jerky, but it’s essential to always double-check before consuming.
7. Use Desiccant Packs: To help absorb any residual moisture, consider using food-grade desiccant packs in your storage container. These can help maintain the quality of the jerky by keeping the environment dry.
This AIP beef jerky makes for a great snack. It’s deliciously flavored with no added sugar, and is super easy to make. I bet you had no idea it would be so easy to make your own jerky!
PrintBeef Jerky (AIP, Paleo, SCD, GAPS)
Ingredients
- 1 London Broil
- 1/2 cup unsweetened black cherry juice (or apple juice)
- 1 cup crushed pineapple
- 3 tablespoons coconut aminos (omit for GAPS and SCD and add 1 teaspoon sea salt)
- 1 tablespoon freshly chopped ginger (or 2 teaspoons ground)
- 2 cloves garlic (smashed and coarsely chopped)
- 2 teaspoons onion powder
Instructions
- Freeze the London Broil for 30 minutes to an hour to make it easier to slice.
- Remove beef from the freezer and slice 1/8″ thick across the grain.
- Place beef slices in a shallow glass dish.
- In a medium bowl, whisk all remaining ingredients together and pour over beef, tossing with your hands to coat.
- Cover with plastic wrap and marinate overnight.
- Preheat oven to 170F.
- Line one or two (depending on the size of the London Broil) rimmed baking sheets with aluminum foil. Place a stainless steel rack inside of the pan(s).
- Rub the racks with a little coconut or olive oil.
- Lay the beef slices on the rack(s) leaving just a little room in between slices for air to circulate.
- Place in preheated oven and then prop the door open to allow moisture to escape (I use a large wooden or silicone spoon).
- Dry in oven for 3-5 hours (I lean toward about 4). Time will depend on how thick your slices are. Check them at three hours and determine if it needs more time.
- Allow to cool completely. Jerky should be easily pried off the racks.